Last modified on September 11, 2023 at 5:55 pm
This is an example of what your student will see if they come to your site and login with a supported social account. We will use Facebook as our example login.
A Note about Account Matching
In order for this to work, the first time through a student must “match” their Facebook account to a DigitalChalk account. There are various ways to do this:
- Require the student to login to DigitalChalk (only the first time) after logging into Facebook
- Automatically matching the student’s email address on Facebook with their email on DigitalChalk
- Automatically creating a new user if you can’t match the emails
All these options are configurable in DigitalChalk.
A Sample Login
For this sample, we are assuming that auto-match email and auto-create user are OFF.
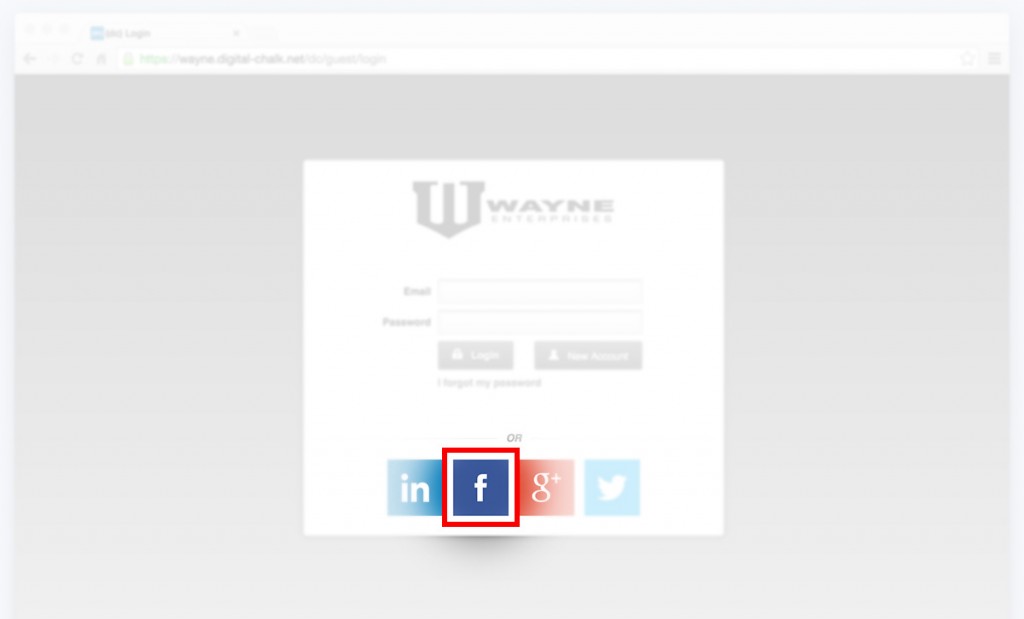
First, the student arrives at your site. To start a Facebook login, the student clicks on the Facebook icon (highlighted below):

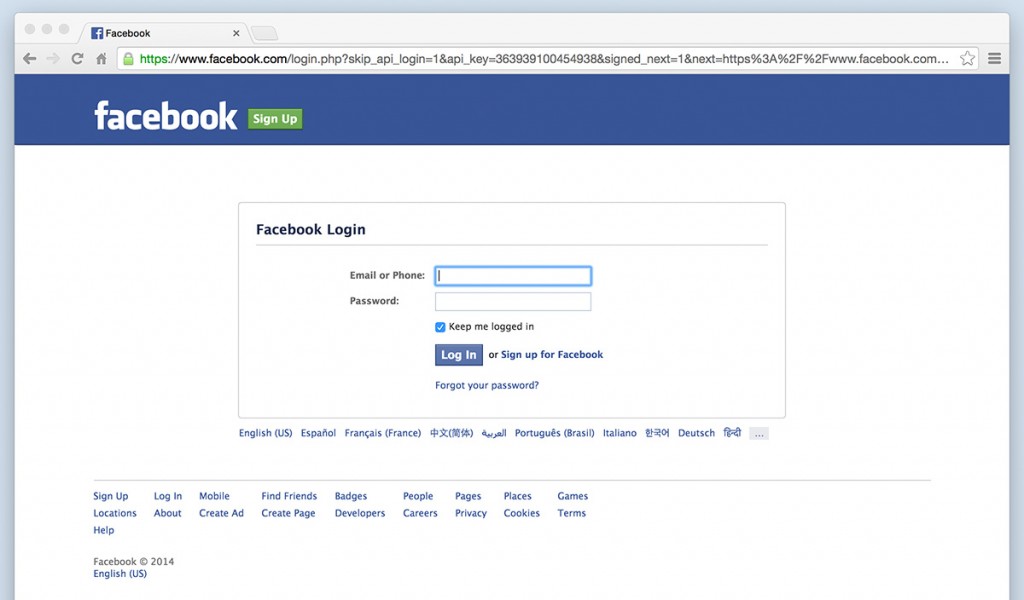
Next, if the student is not already logged into Facebook, they will be asked to login. Note that this screen comes from Facebook itself, not from DigitalChalk:

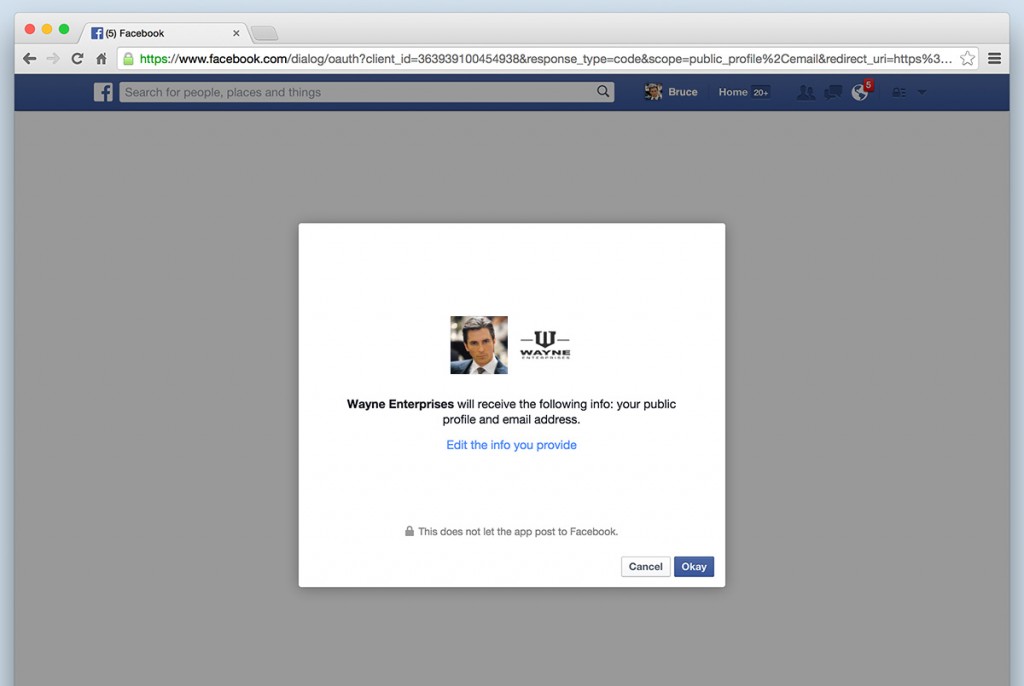
If the student has not previously allowed your organization permissions to Facebook, Facebook will ask the student specifically for permissions. Again, this page comes directly from Facebook, not DigitalChalk:

Note that the name of the app (“DigitalChalk Login” above) and the application icon (the DigitalChalk logo) are both configurable on the Facebook developer site. You can still maintain your branding on the above page.
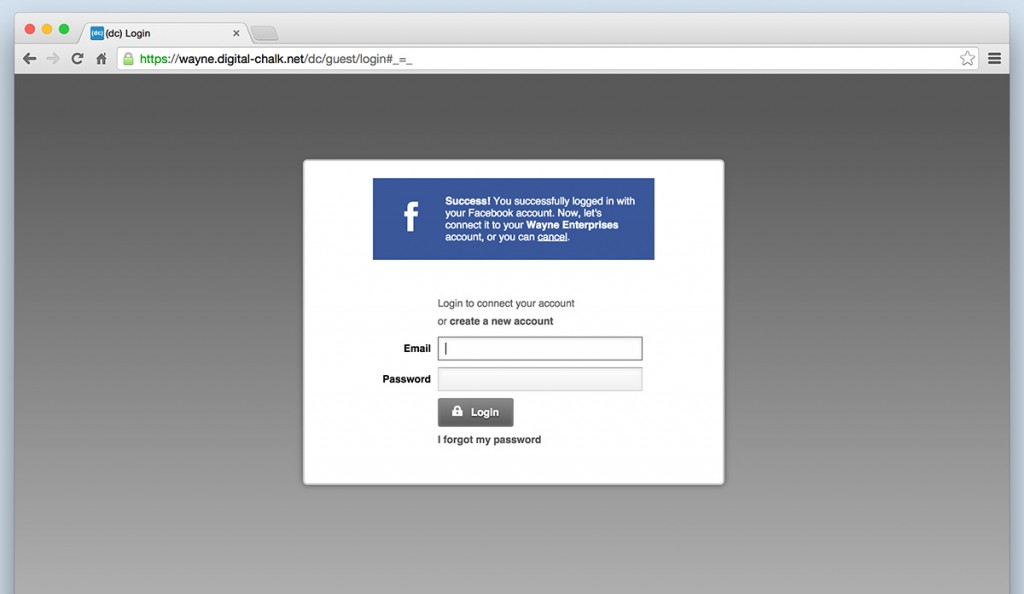
To match up the social account with DigitalChalk account, the user may be asked to login. You can prevent this screen from appearing by allowing DigitalChalk to automatically match the email address on the social account with the email set for a student in DigitalChalk. See Configuring Social Integration for more details on these settings.

Now that the accounts are matched, the next time the student comes to your site, it will remember that user by their Facebook login, and you won’t see any of the screens above.