Last modified on September 11, 2023 at 5:55 pm
Overview
This guide shows you how to create a login application on Google that allows students to log in to DigitalChalk with their Google account.
Create a Google Application
- Go to http://code.google.com/apis/console and log in with your normal Google account. Your account must have permission to create application for your Google Domain.

- The Google APIs Console page is displayed.

- If necessary, change your organization from “No Organization” to your Google Domain organization by selecting your organization in the organizations dropdown list.

- Click the Create Project button.
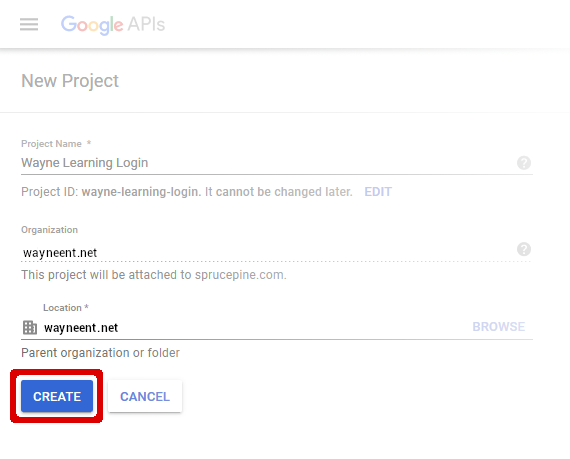
- The New Project page is displayed.
- Enter a name for your project in the Project Name field.
- Verify that the Organization and Location fields match your Google Domains account.
- Click the Create button.
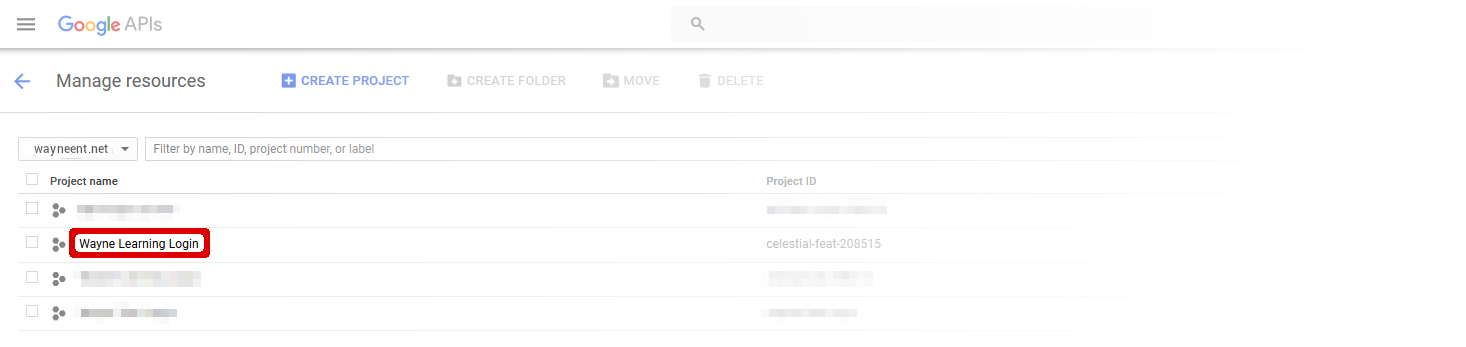
- The Manage Resources page is displayed.
- Click on the name of your new project in the list.
- The Details page for your new project is displayed.
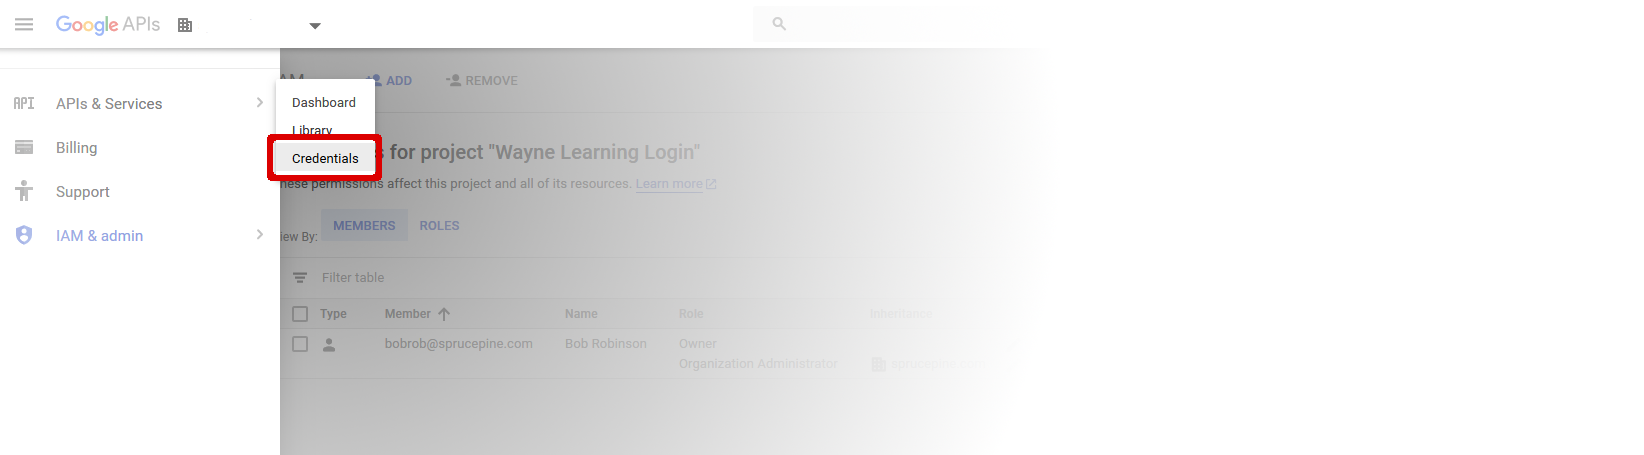
- Click on the Navigation Menu button (the three lines in the top left corner next to “Google APIs”).
- Click APIs & Services from the task list on the left, then, click Credentials from the expanded list.
- The Credentials page is displayed.
- Click on the Create Credentials button. Select OAuth Client ID from the dropdown list.
- The Create OAuth Client Id page is displayed.
- Click on the Configure Consent Screen button.
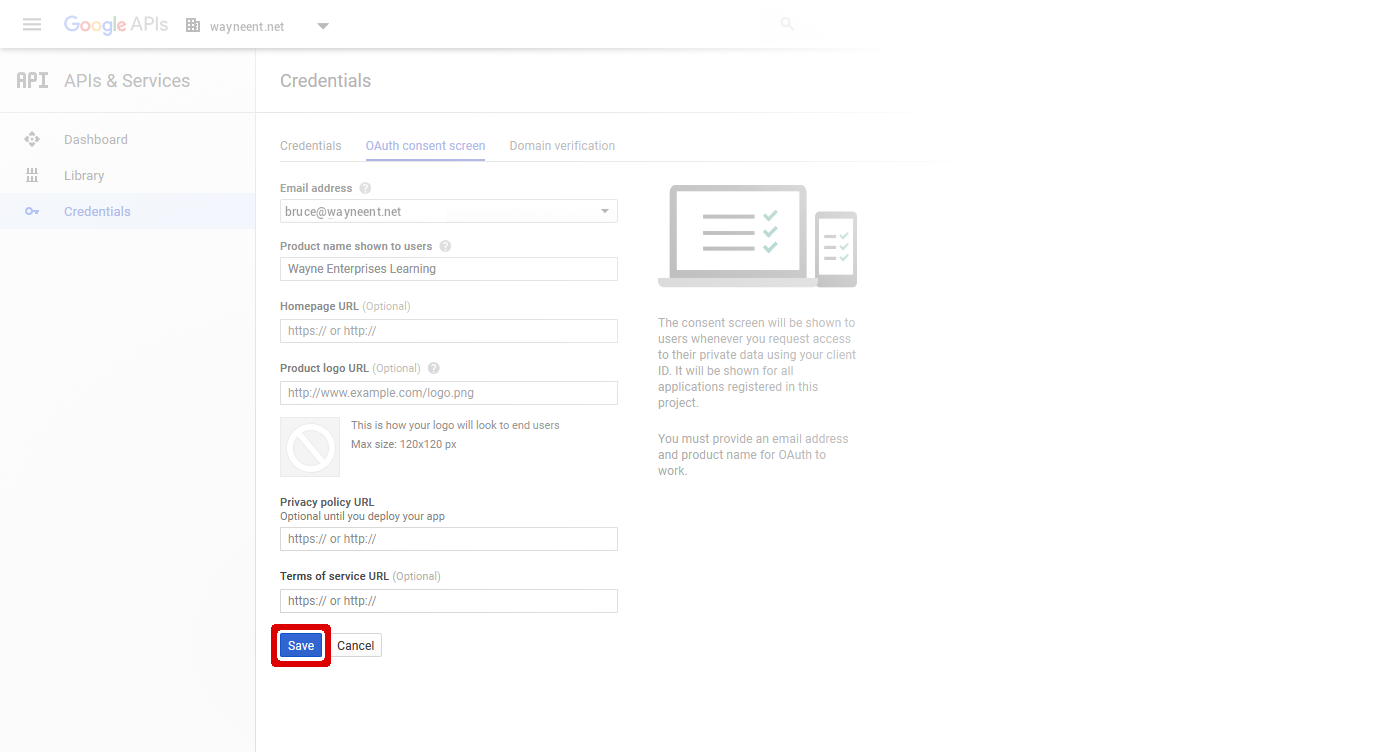
- The Consent screen page is displayed.
- Select a contact email from the Email Address list.
- Enter a name of your choosing in the Product Name field. This name is shown to users when they log in to DigitalChalk with their Google account.
- [Optional] Fill out the Homepage URL, Product Logo, and Privacy Policy URL fields if you wish.
- Click on the Save button.
- The Create OAuth Client Id page is displayed.

- Select Web Application under Application Type.
- Enter a name for this client in the Name field. This name is for your analytics tracking and is not displayed to students.
- Under Restrictions > Authorized Javascript Origins, enter “https://[your virtual host].digitalchalk.com”, replacing “your virtual host” with your DigitalChalk host name. For example, https://wayne.digitalchalk.com. Be sure to press enter after you fill out this field.
- Under Restrictions > Authorized Redirect URIs, enter “https://[your virtual host].digitalchalk.com/dc/signin/google”, replacing “your virtual host” with your DigitalChalk host name. For example, https://wayne.digitalchalk.com/dc/signin/google. Be sure to press enter after you fill out this field.
- Click the Create button.
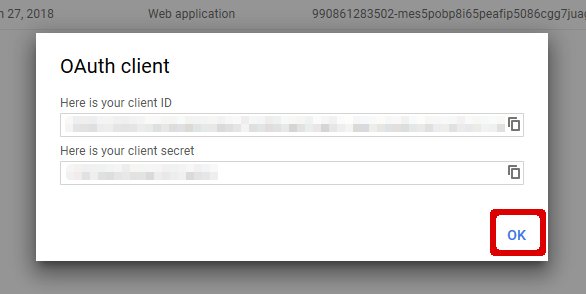
- The OAuth Client popup will be displayed.
- Copy the Client ID and Client Secret displayed. You will need them later when you configure the login on DigitalChalk.
- Click the OK button to finish the setup.
Configuring DigitalChalk to Use Your Google Application
In DigitalChalk, do the following:
- Click the Administration tab, then click My Organization from the System Management list.
- The Edit Organization Details page is displayed with a task list.
- Select Login/SSO from the task list.

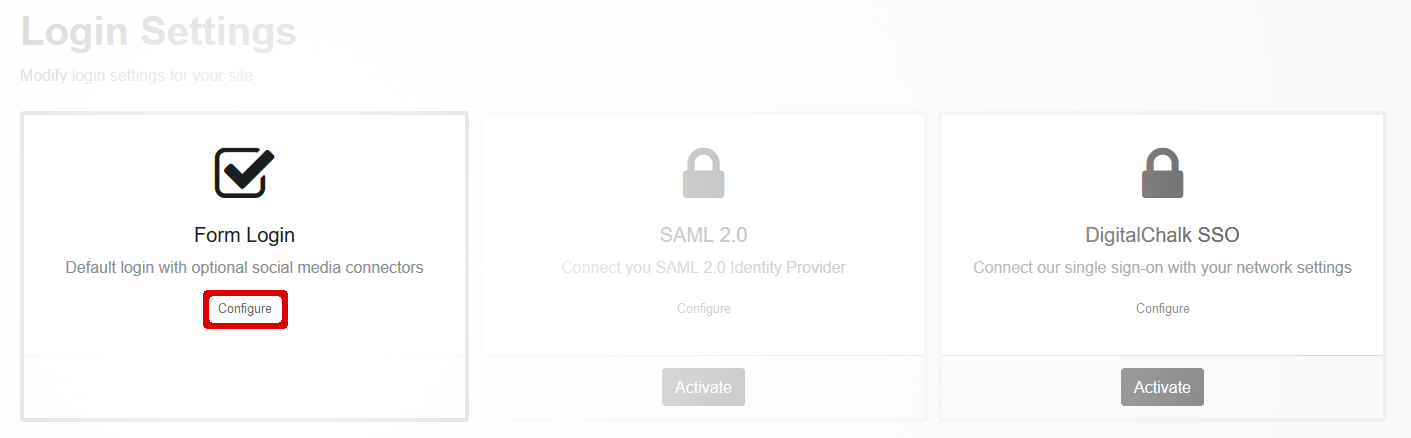
- The Login Settings page is displayed.
- The button under Form Login should say Activated. If not, click the Activate button under the Form Login section. Form Login is activated by default.
- Click on the Configure link under the Form Login section.
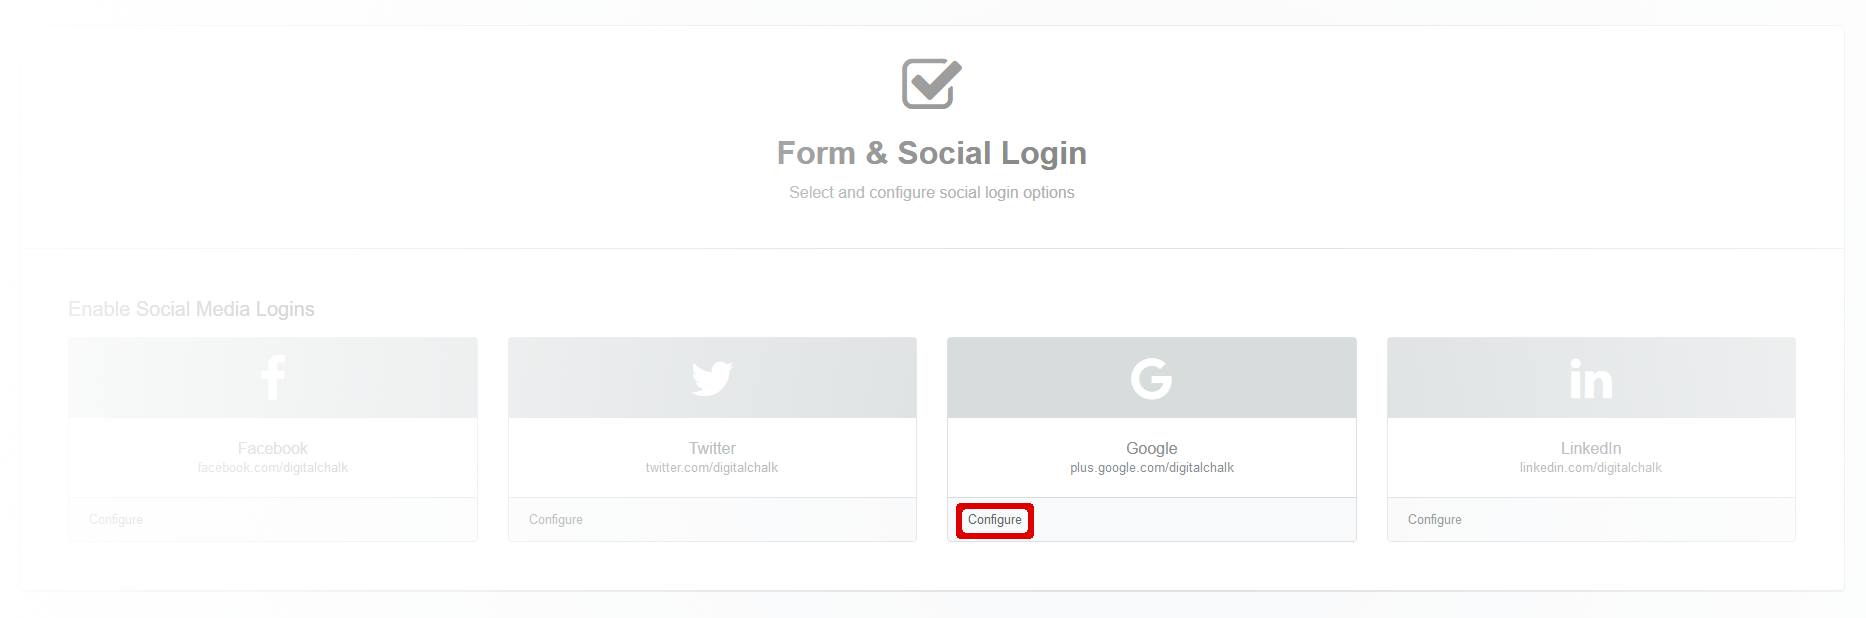
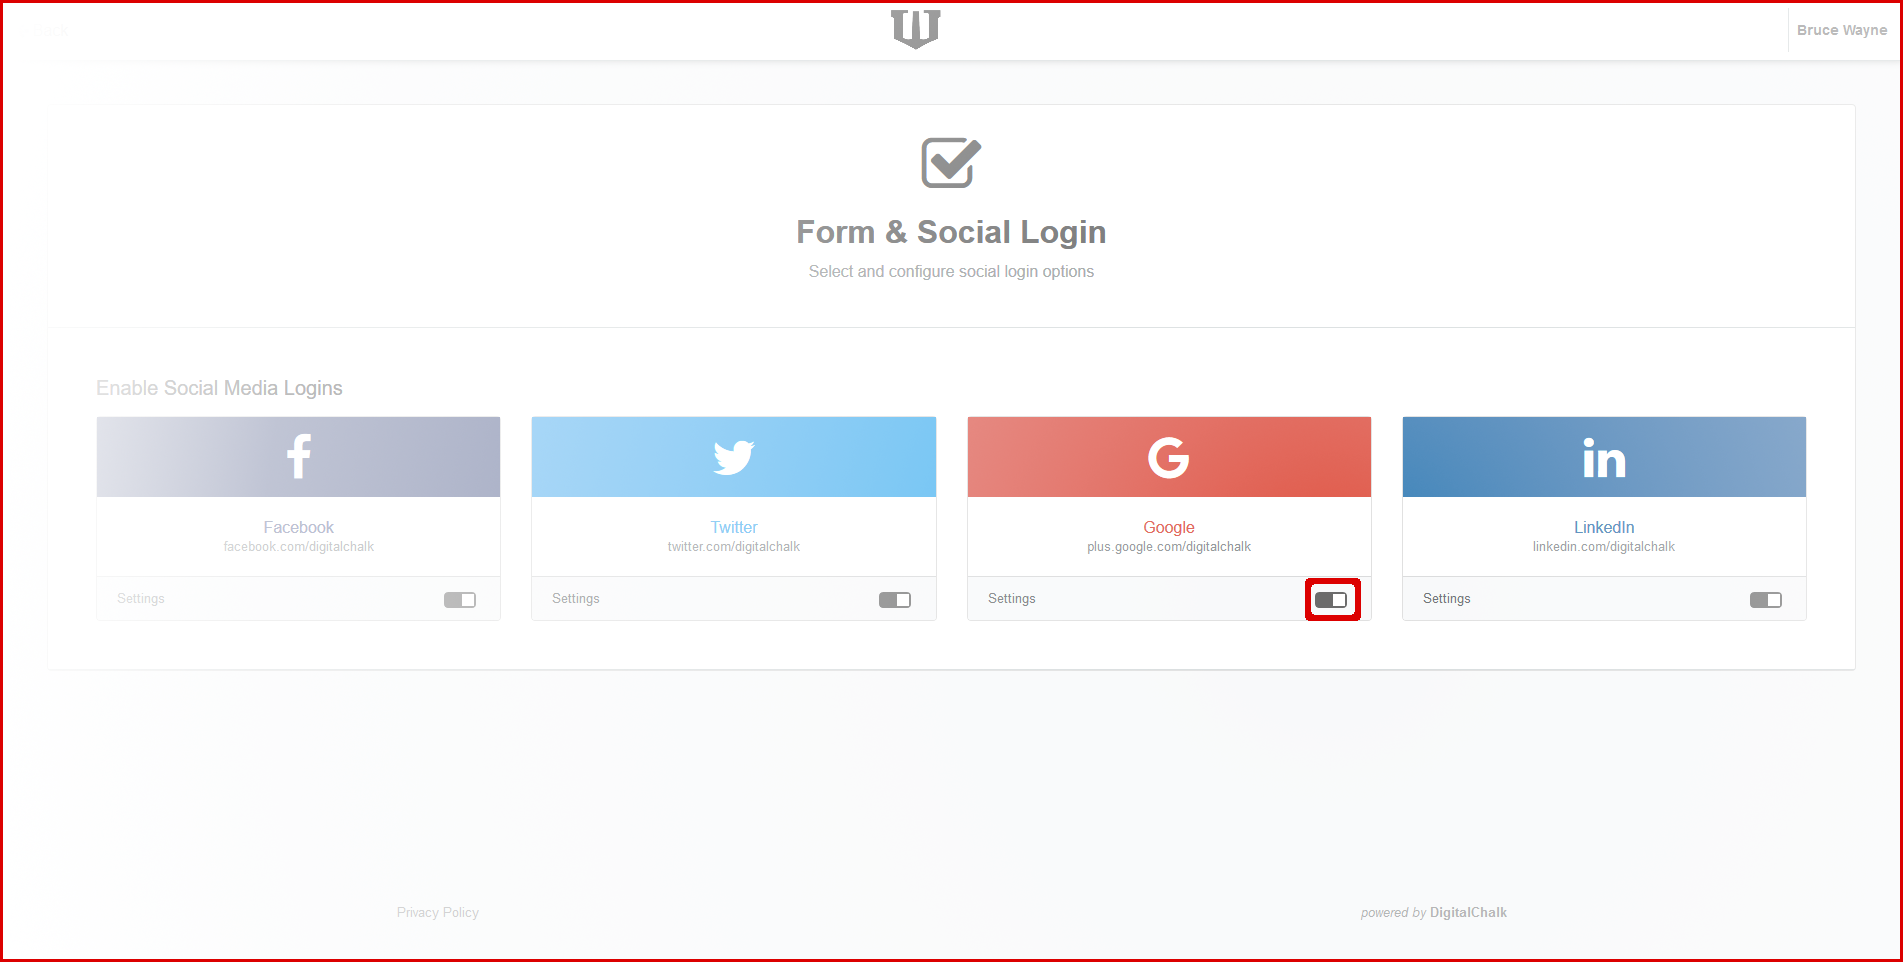
- The Form and Social Login page is displayed.
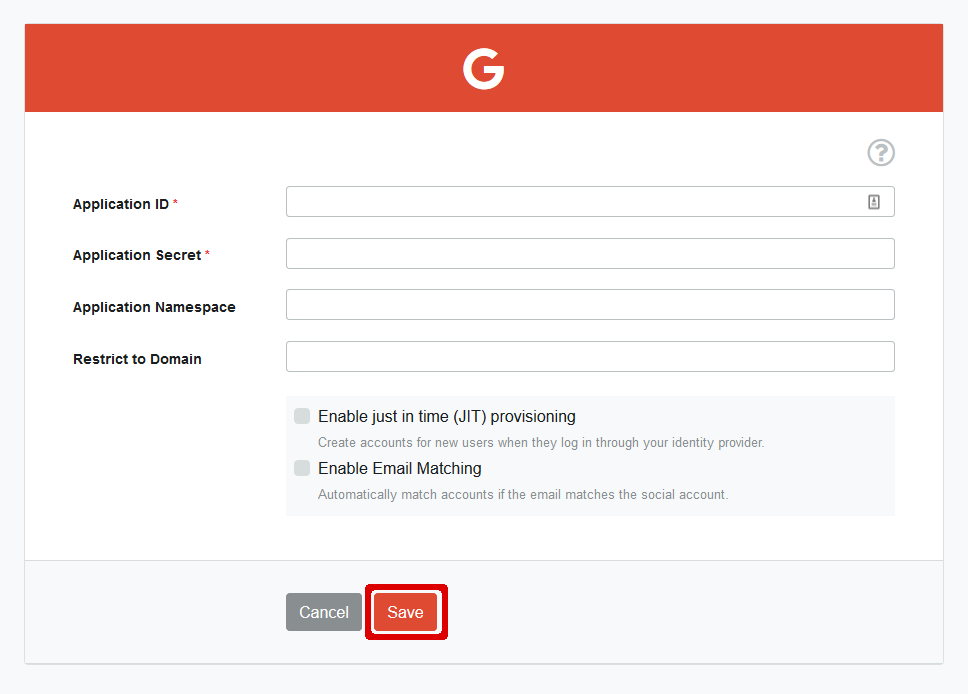
- Click the Configure link under the Google section. (Note: If you have previously configured Google, the link will say “Settings” instead.)
- Enter the Client ID from the Google OAuth Client popup for the Application ID, the Client Secret from the Google OAuth Client popup for Application Secret.
- For descriptions of other settings shown here, see Configuring Social Sites for Your Organization.
- Click the Save button when you finish entering information for your Google application.
- The Form and Social Login page is shown again.
- Click the activation toggle in the Facebook section of the Form and Social Login page. This enables students to use your new Google application to log in to DigitalChalk
You have completed creating Google login for your DigitalChalk organization. Your students can now log in to DigitalChalk using their Google account. If you have any questions, please contact DigitalChalk support for assistance.
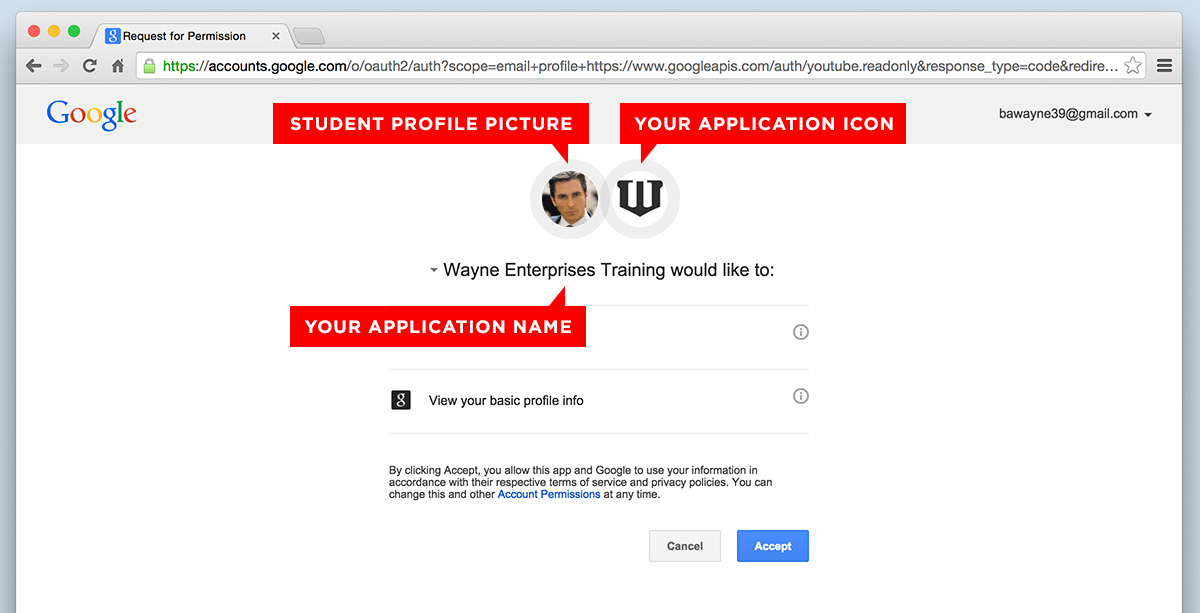
How Your DigitalChalk Google Login Looks to a Student
When students first log in to your DigitalChalk site with Google, they must approve the application through Google. The page shown here is a sample of what students see the first time they log into DigitalChalk from Google. The red boxes show how your settings are displayed on the Google approval page.