Last modified on August 24, 2023 at 8:05 pm
DigitalChalk can act as a SAML 2.0 Service Provider (SP), allowing single sign-on with your existing network architecture through your SAML Identity Provider (IdP).
What is SAML?
SAML (Security Assertion Markup Language) is an XML-based open standard data format for exchanging authentication data between parties.
Normally, the first party will be an Identity Provider (known as an IdP) which manages your usernames, passwords and provides login screens for your end users. An IdP is usually a centralized user store, such as an LDAP Server, an Active Directory server or a database of users which has been configured to support SAML.
The second party is the Service Provider (known as an SP). The SP is a consumer of your usernames and passwords. On the web, an SP is usually a web application (like DigitalChalk). At a basic level, when a user needs to login, the SP will ask the IdP to verify that the user is who they claim to be. The IdP verifies the user (normally with a login page) and sends back a yes or no answer to the SP. This yes/no answer is known in SAML as an “assertion”.
The assertion is encrypted with a key from the IdP, allowing it to be sent safely across the Internet. This also prevents forging an assertion, since it must be signed by the IdP server.
One Identity Provider (IdP) can handle multiple Service Providers (SP). Therefore, since all the usernames and passwords are centralized at the IdP, this allows single sign-on between various applications that are also SP’s. This also allows a streamlined user management strategy. For example if user “jsmith” leaves the company, removing his username from the IdP will also prevent him accessing the associated Service Provider (SP) applications.
Using SAML with DigitalChalk
In the DigitalChalk scenario, the IdP is provided by your company. You manage your usernames and passwords on the IdP, outside of DigitalChalk. You may also use a third party IdP service, such as EmpowerID or OneLogin, or a SAML compliant service such as Active Directory Federation Services (ADFS).
DigitalChalk acts as a Service Provider (SP) to your company’s Identity Provider (IdP). If your IdP tells us that the user is valid, they are automatically logged into DigitalChalk without seeing a DigitalChalk login page. When a user requests access, DigitalChalk will redirect to an authentication request on your IdP and wait for a successful SAML assertion from your IdP before allowing the user to go further into DigitalChalk.
DigitalChalk uses a specific type of SAML-defined profile called the Web Browser SSO Profile, which is designed to allow for single sign-on inside a web browser.
What is Required to Use SAML 2.0 with DigitalChalk?
- You must provide an Identity Provider (IdP) that supports SAML 2.0.
- Your IdP must provide an EntityDescriptor file (a specific type of XML file used in SAML) that can be reached via a URL. This is sometimes known as an IdP Metadata file.
- Your IdP’s assertion must send an attribute that matches the DigitalChalk username (usually that is the email address).
- You must register the DigitalChalk Service Provider with your IdP. DigitalChalk will provide a SAML 2.0 Service Provider Metadata file that you can import into your IdP.
SAML Process Flow

Setting Up Your DigitalChalk Account for SAML
To use SAML single sign-on, you must configure your DigitalChalk account. You must be an organization administrator in DigitalChalk to perform this function.
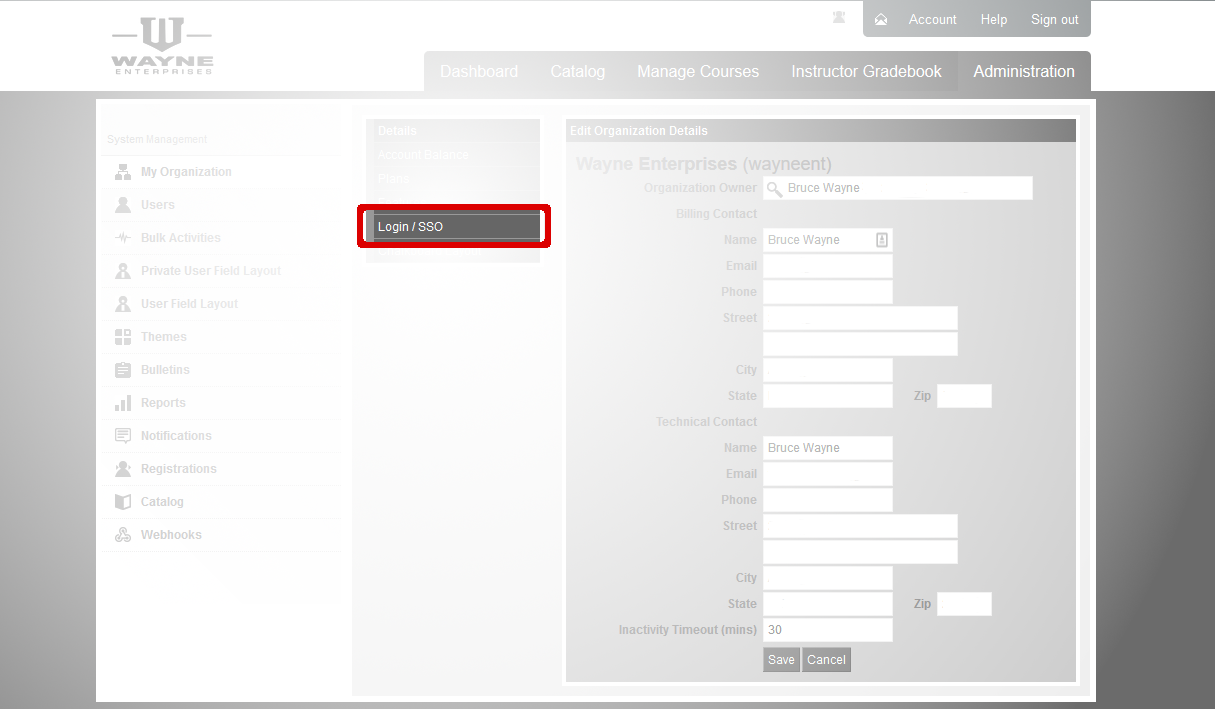
Go to Administration -> My Organization -> Login/SSO.

Click on the Configure link in the SAML 2.0 section of the Login Settings page. This will take you to the Identify Provider (IdP) Metadata screen. If you have already set up your metadata, you will go directly to the SAML Settings in the next step.
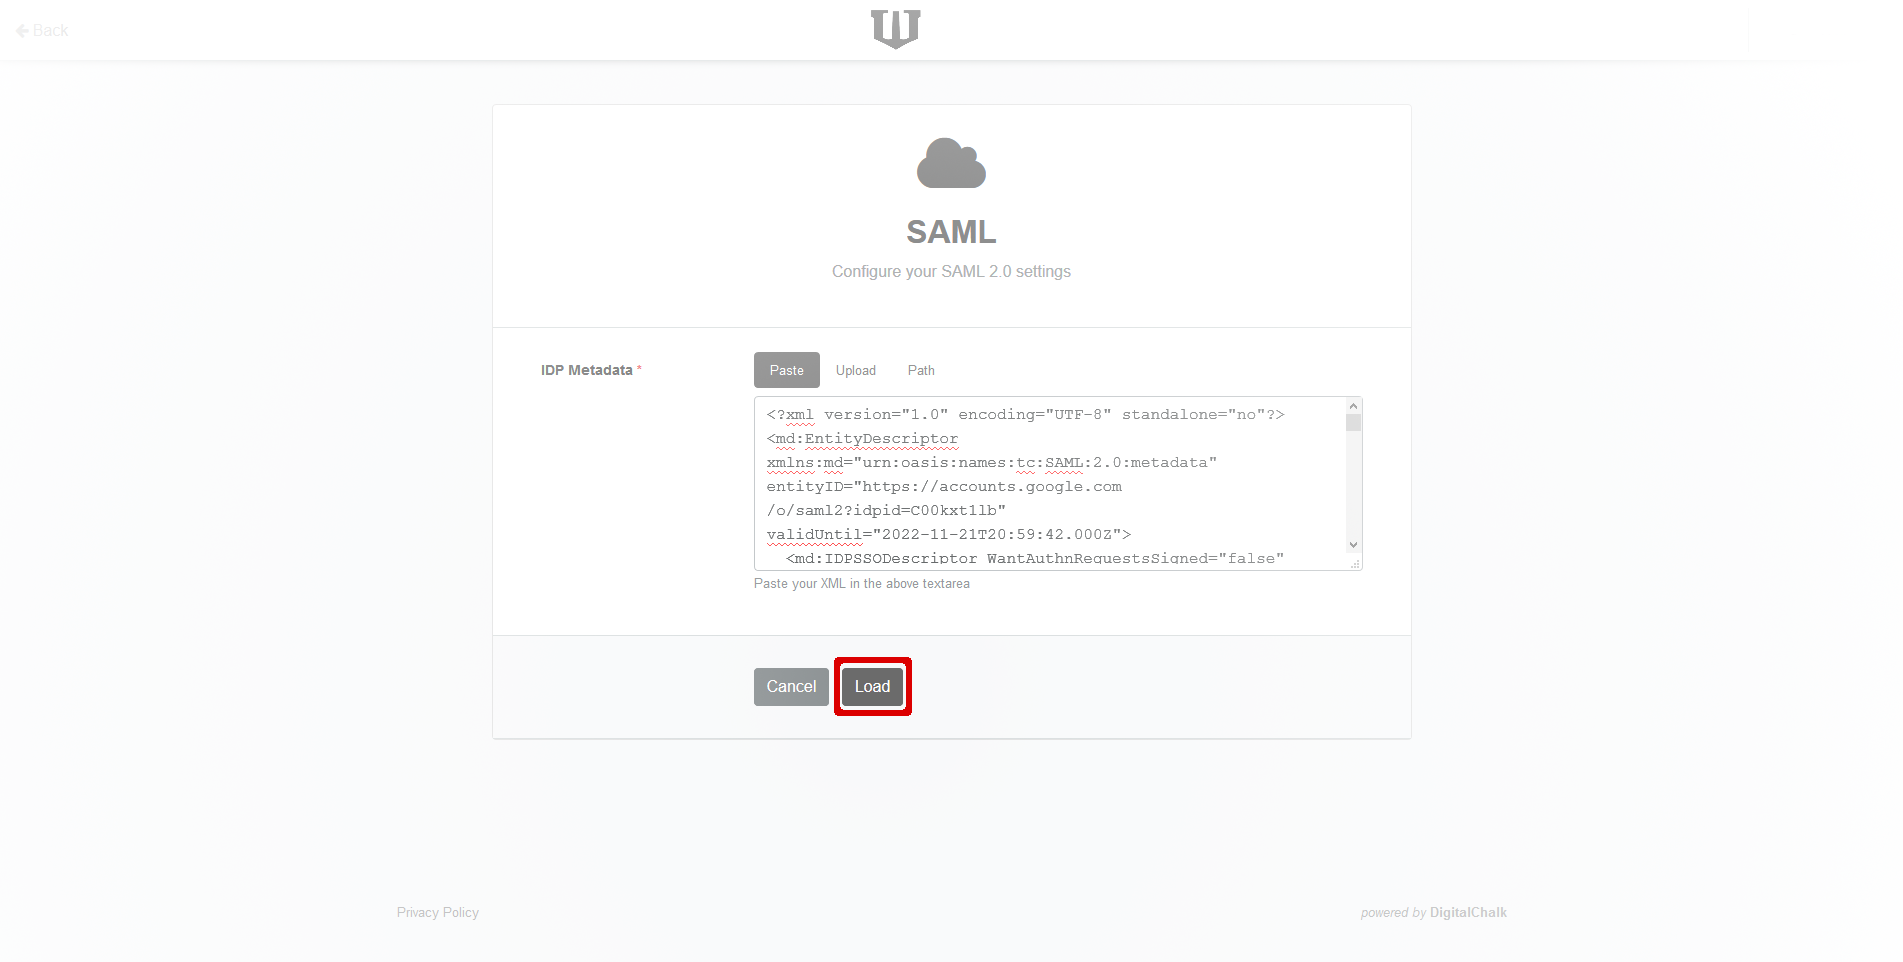
Paste your server’s metadata in the IdP Metadata field. Alternatively, you can upload the file by clicking on the Upload tab, or download it from a URL. Your metadata must be valid SAML metadata XML.
Click on the Load button, which will validate and save your metadata. Then the SAML Settings page will be displayed.
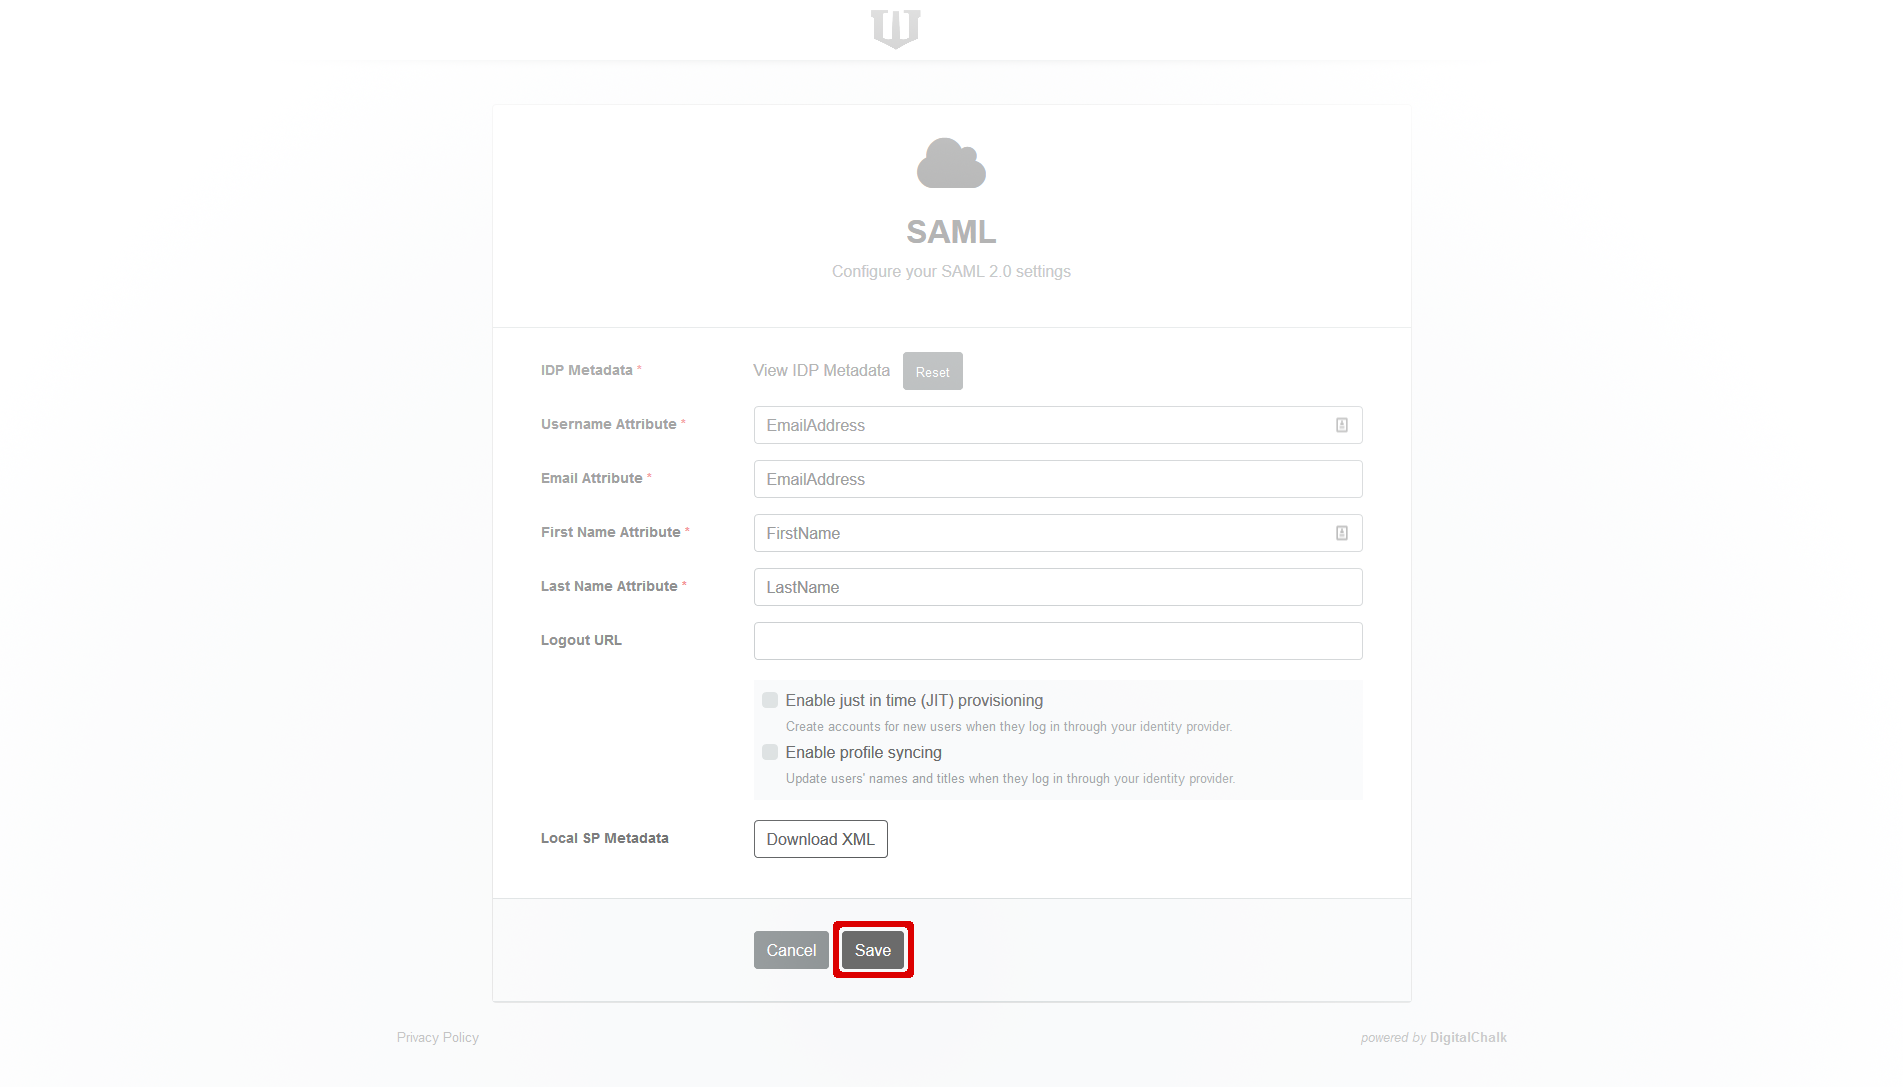
In the “attribute” fields, enter the attribute names for each of the items requested. (Note: if you use email addresses as usernames in DigitalChalk, the username and email atributes will be the same). You can get these attribute names from your IdP vendor or administrator.
Download the Local SP Metadata file by clicking on Download XML. You can upload this file into your IdP to create a new Service Provider (SP). (How to do this upload varies from IdP to IdP). The service name is your DigitalChalk virtual host name. If, for example, your host is myhost.digitalchalk.com, then your SP name is also myhost.digitalchalk.com. It is important that the SP name is correct and matches the one inside the downloaded XML file.
Save the new SAML configuration by clicking the Save button. This will take you back to the general Login Settings screen.
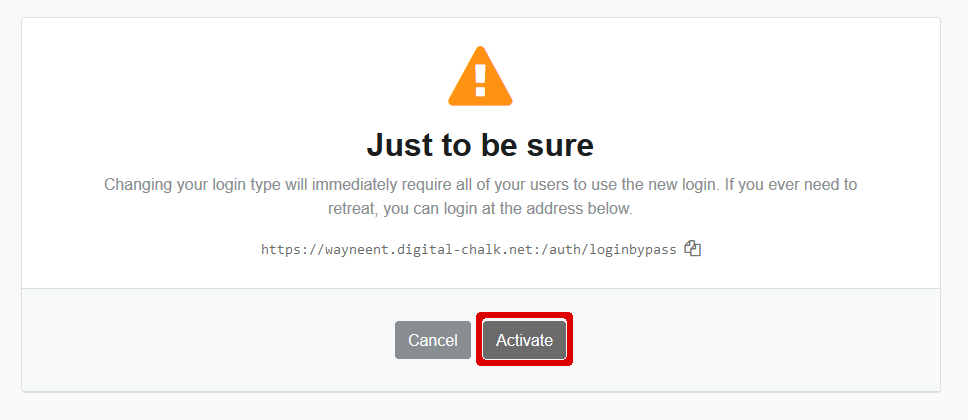
Click the Activate button in the SAML 2.0 section.
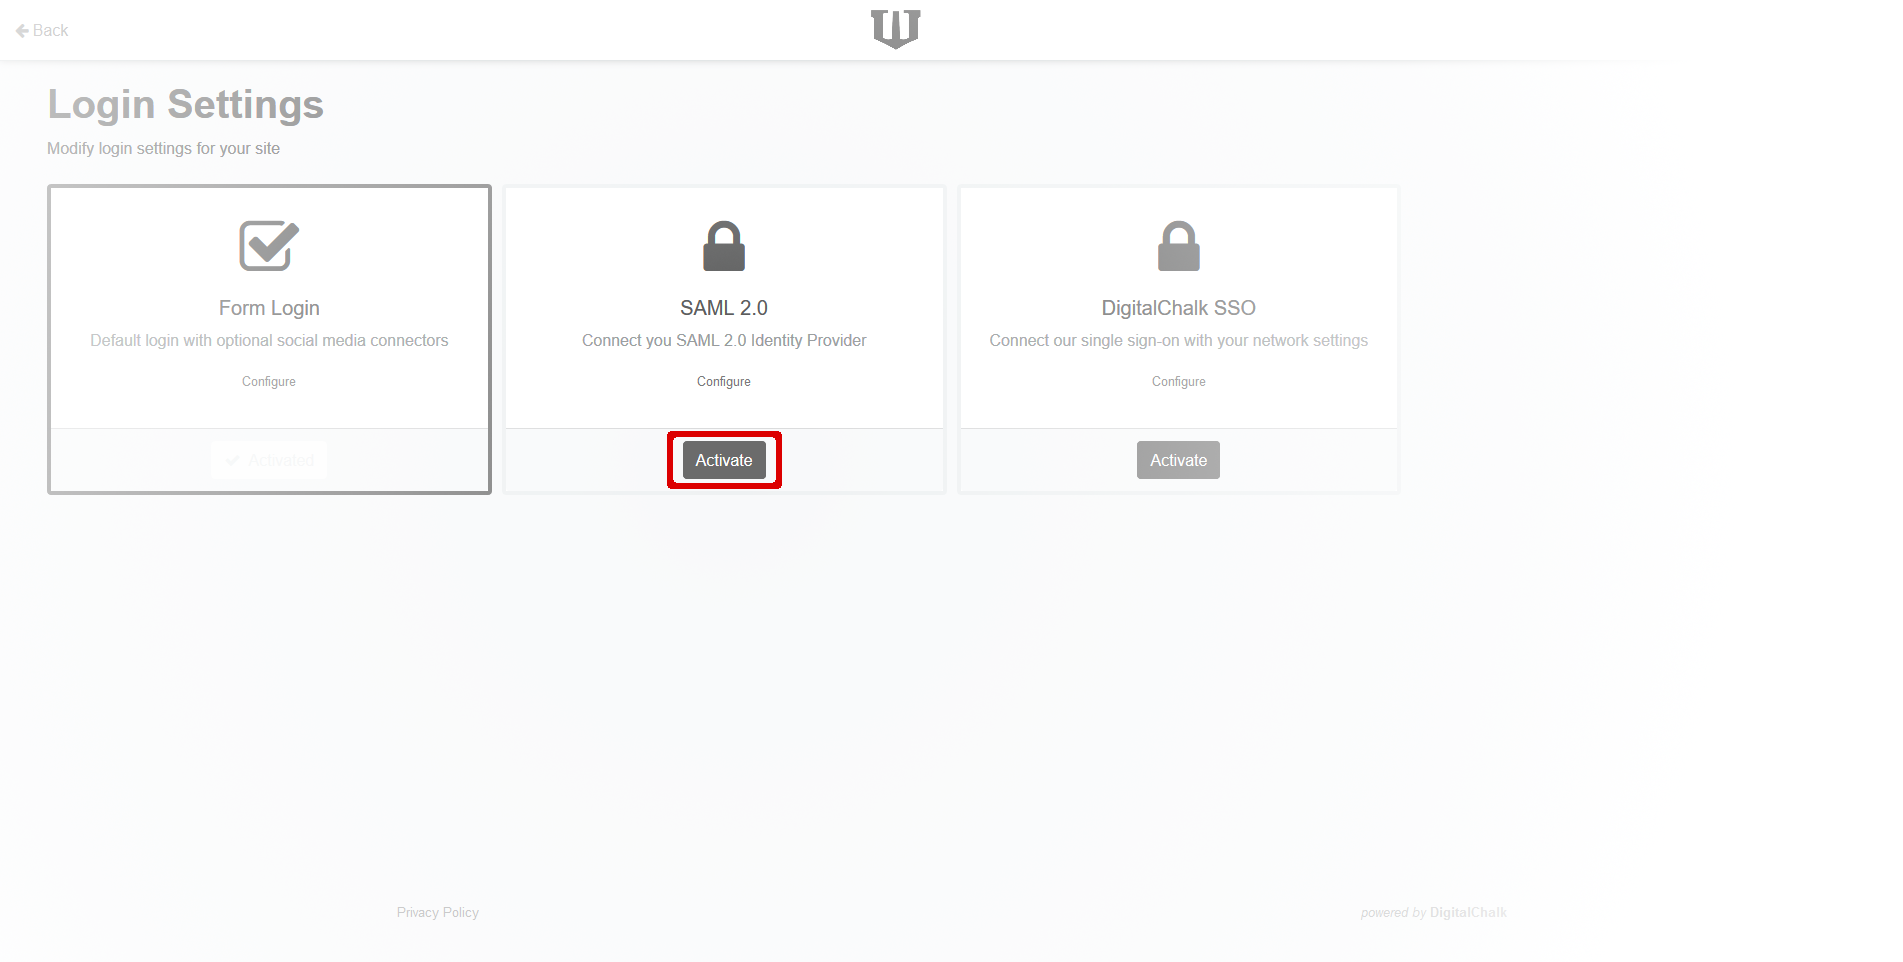
At this point, DigitalChalk will warn you that you are about to change your login method for all users. Note the “bypass” URL that is shown, which allows administrators to bypass the SAML system and login with an email and password. Keep the bypass URL for your records. If you are satisfied that you want to change to SAML logins, click the Activate button.
DigitalChalk Role Management
All DigitalChalk roles, such as “Organization Administrator”, “Developer”, or “Course Administrator” must be managed inside the DigitalChalk application by an authorized user. This can be done in DigitalChalk by navigating to the Administration -> Users tab.
Automatic User Provisioning
If a user is authenticated as valid by your IdP, but doesn’t exist in DigitalChalk, an account for them is automatically created in DigitalChalk after the SAML assertion is returned. The new user may need to agree to new user licence agreements on the first access to DigitalChalk (depending on your DigitalChalk account configuration). In order to create a user automatically, your IdP must send, at a minimum, the following attributes:
- Username (for DigitalChalk use, not necessarily the same username the user logs into your IdP with). If you use email address as usernames in DigitalChalk, this field will be the same as the email
- Email Address
- First Name
- Last Name
Since each IdP may name these attributes differently, you can tell DigitalChalk which SAML attribute names maps to which field in Administration -> My Organization -> Login/SSO (see above).
Automatically provisioned users have only the “User” role in DigitalChalk when they are created.
Logging Out
When a user logs out of DigitalChalk, they are logged out ONLY on DigitalChalk (technically: a SAML “local logout”). In other words, your user may still be (and probably is) logged into your company’s IdP server. However, when a user logs out of DigitalChalk, DigitalChalk requests a “reauthentication” from the IdP. In practice, this means that the user will be redirected to your IdP login page and will have to log in again to access DigitalChalk. (At the technical level, this means that the DigitalChalk Service Provider uses SAML attribute ForceAuthN = “true”.) This keeps DigitalChalk from “looping” on your IdP; otherwise on DigitalChalk logout, the IdP would immediately send another valid SAML assertion (since the user is still logged into the IdP), which would cause DigitalChalk to seem to “never log out”.
That is a bit confusing, but basically what you need to know is that when a user logs out of DigitalChalk, they will return to your IdP’s login page.
Getting Help
If you need help setting up DigitalChalk as a Service Provider, please contact DigitalChalk support.